
I worked as a picture framer at a craft store the year after I graduated. It was exciting, hands-on work, and if it weren’t for the corporate environment and poor hours, I may have kept it up a bit longer.
This post was a long time coming. It’s my reply to the hundreds of Pinterest tutorials that suggest I hot glue twine to the back of my frame, use poster board as matting, or just ModPodge the heck out of everything. There is a tested and approved process for picture framing and it’s not too difficult to master the basics.
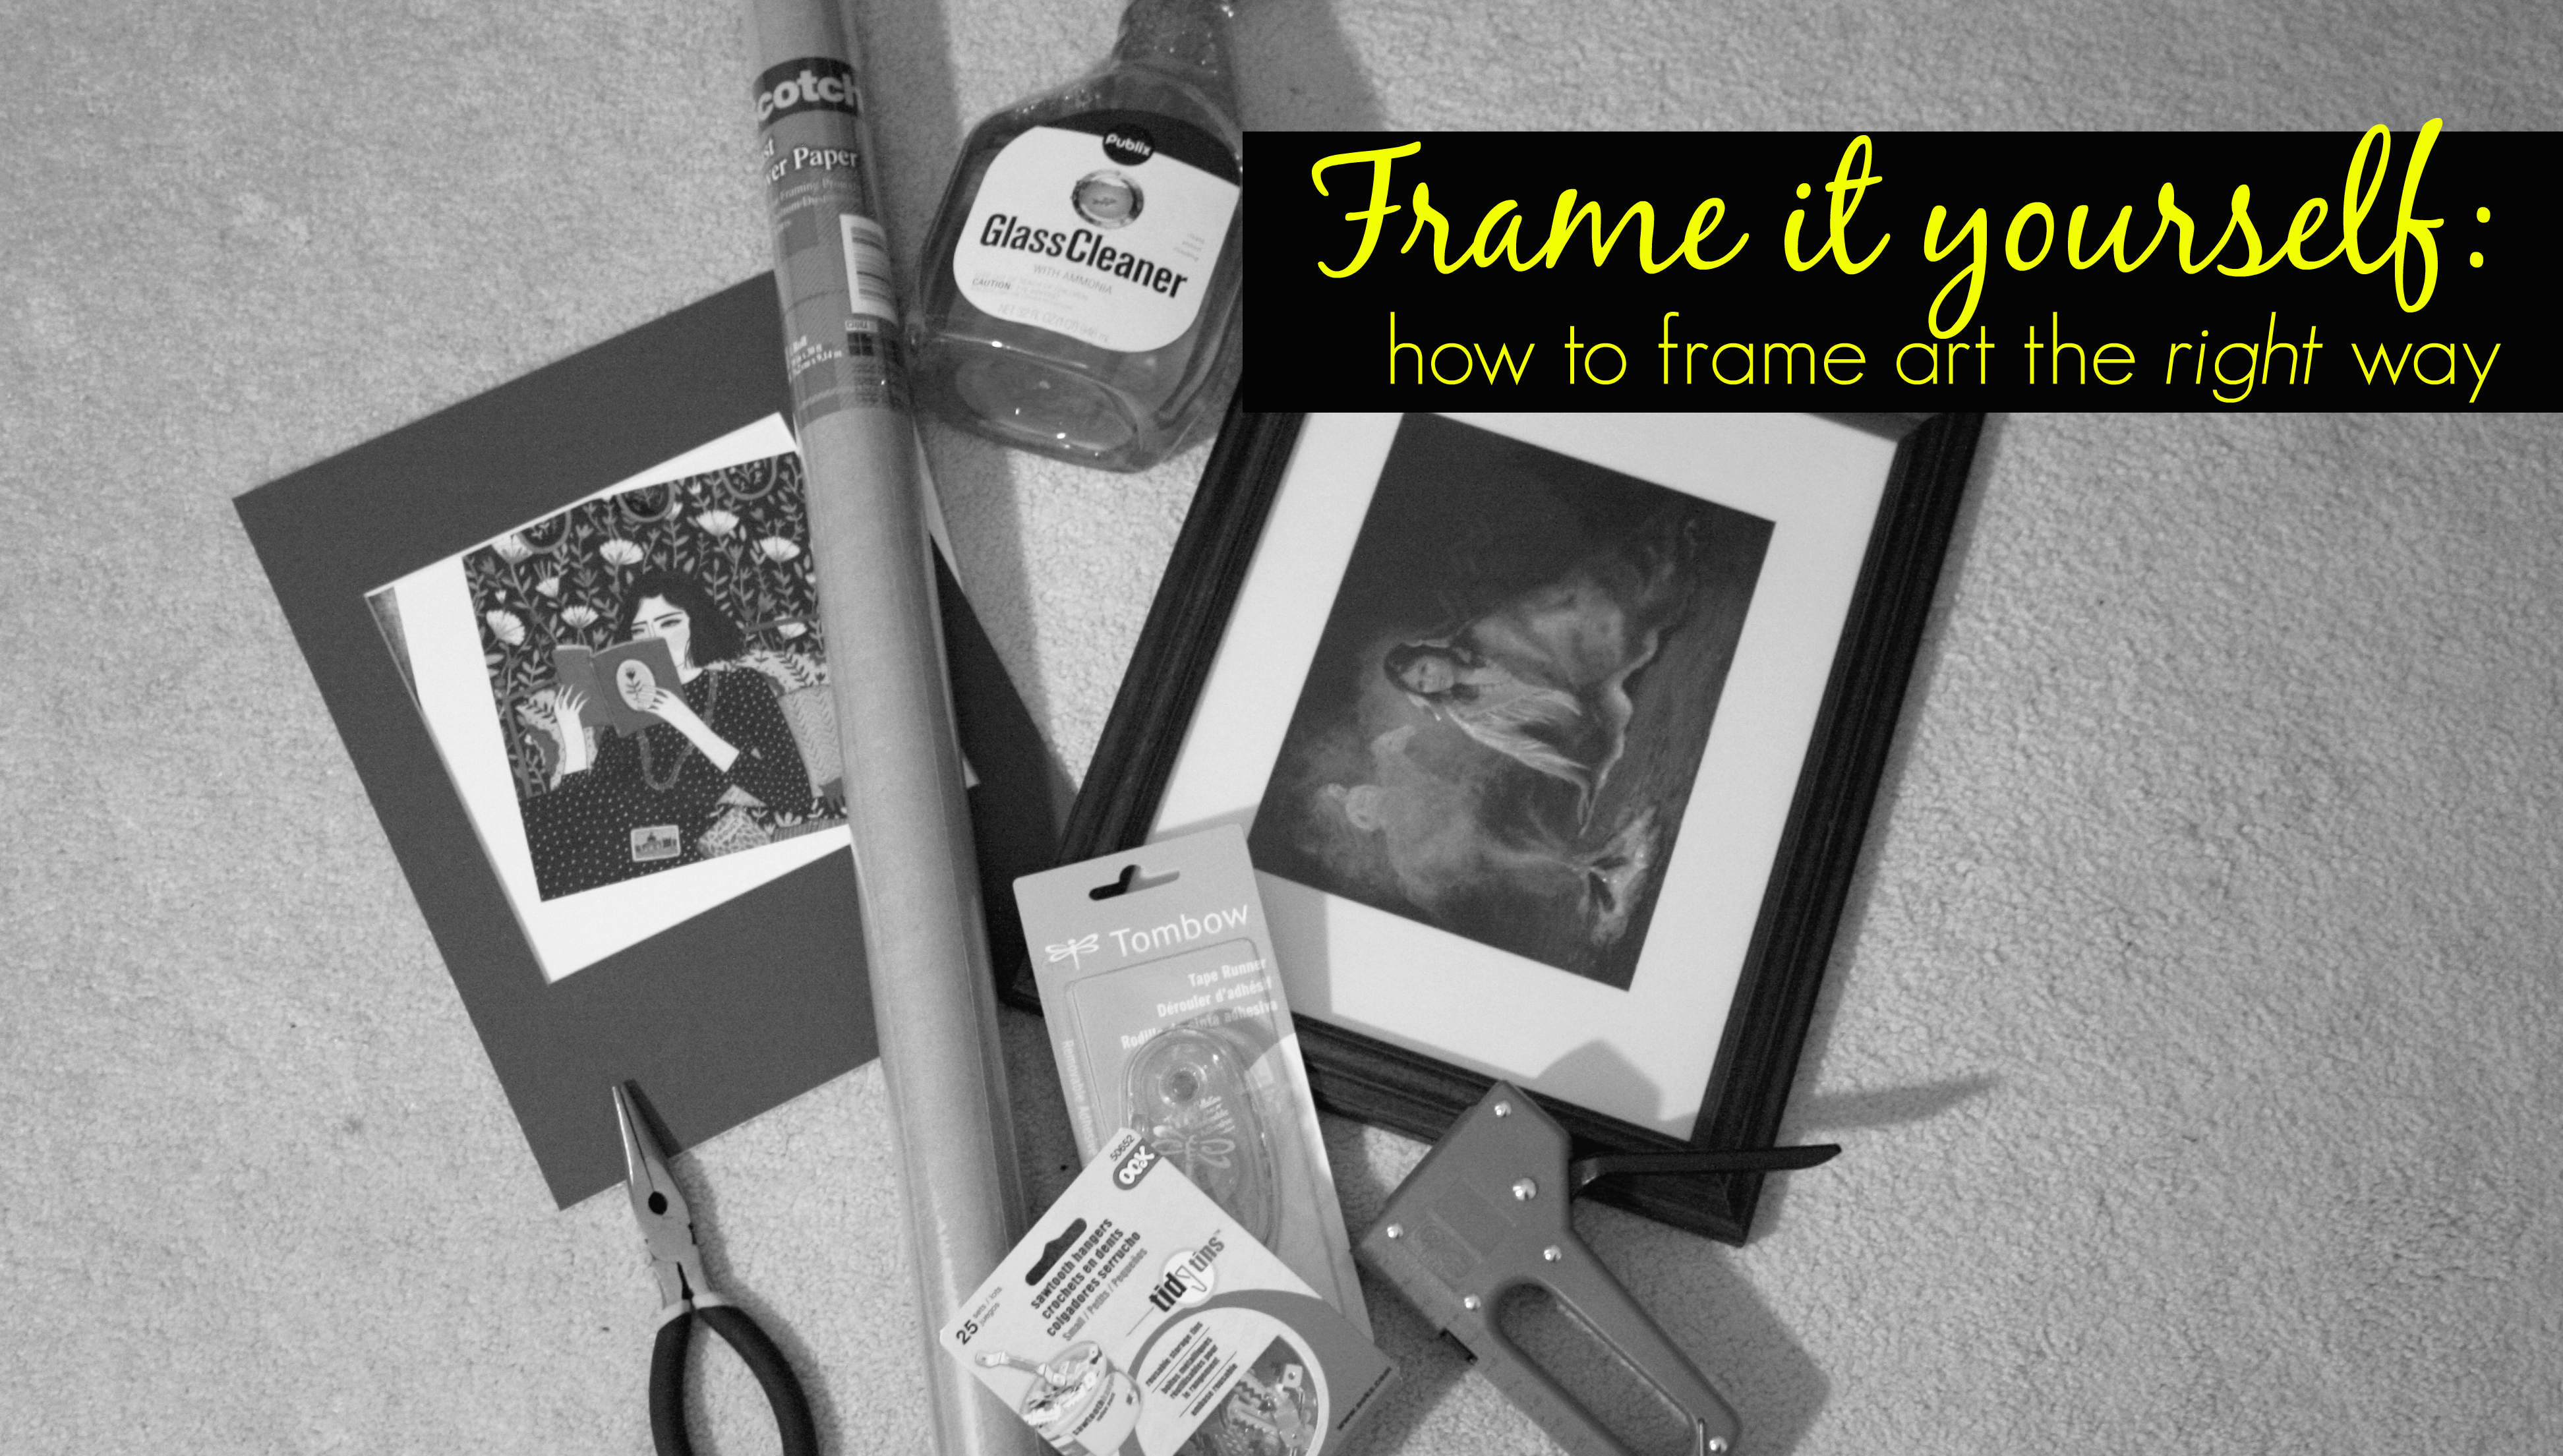
What you’ll need:
- Ready-made frame (I thrifted mine)
- Needle-nose pliers
- Scrapbook tape gun or double sided tape
- Pre-cut mat (I had Michael’s cut one for me out of matboard I had on hand)
- Artwork
- Paper backing (butcher or craft paper)
- Staple Gun (mine is a small upholstery gun)
- Razor blade or pocket knife
- Measuring tape or ruler
- Picture hanger
- Glass Cleaner
- Paper towels
- Painter’s tape
- Carpeted surface (this helps prevent scratching your frame or artwork)
 1. Remove paper backing from frame if it has one. Use needle-nose pliers to remove staples or pegs from back of frame. Remove any previous hardware.
2. Take the glass out of the frame, spray a small amount of glass cleaner, and carefully wipe both sides. Taking the glass out of the frame ensures that particle buildup from the frame is removed before art is placed inside.
3. Remove packaging/backing from art, flip it, and place a line of painter’s tape along the top edge.
4. Extend the tape a little beyond the art to ensure that it doesn’t roll at the corners from humidity over time.
 5. Turn the artwork right side up and carefully align the matting over it. Once it’s in place, press down over the tape edge to secure it.
6. Check for any lint and loose particles, then flip the matted artwork over and place it in the frame. Holding it secure, face the frame toward you and double check for debris and dust that may be stuck under the glass. Turn the frame back around.
7. Hold your staple gun at a slight angle 1/8″ to 1/4″ away from the lip of the frame and insert staples. They can be spaced 2-3″ apart depending on how secure the backing feels. Stapling at an angle ensures that the artwork and backing fit snugly against the glass.
8. Place a line of scrapbooking tape or double-sided tape along the edges of the back of the frame.
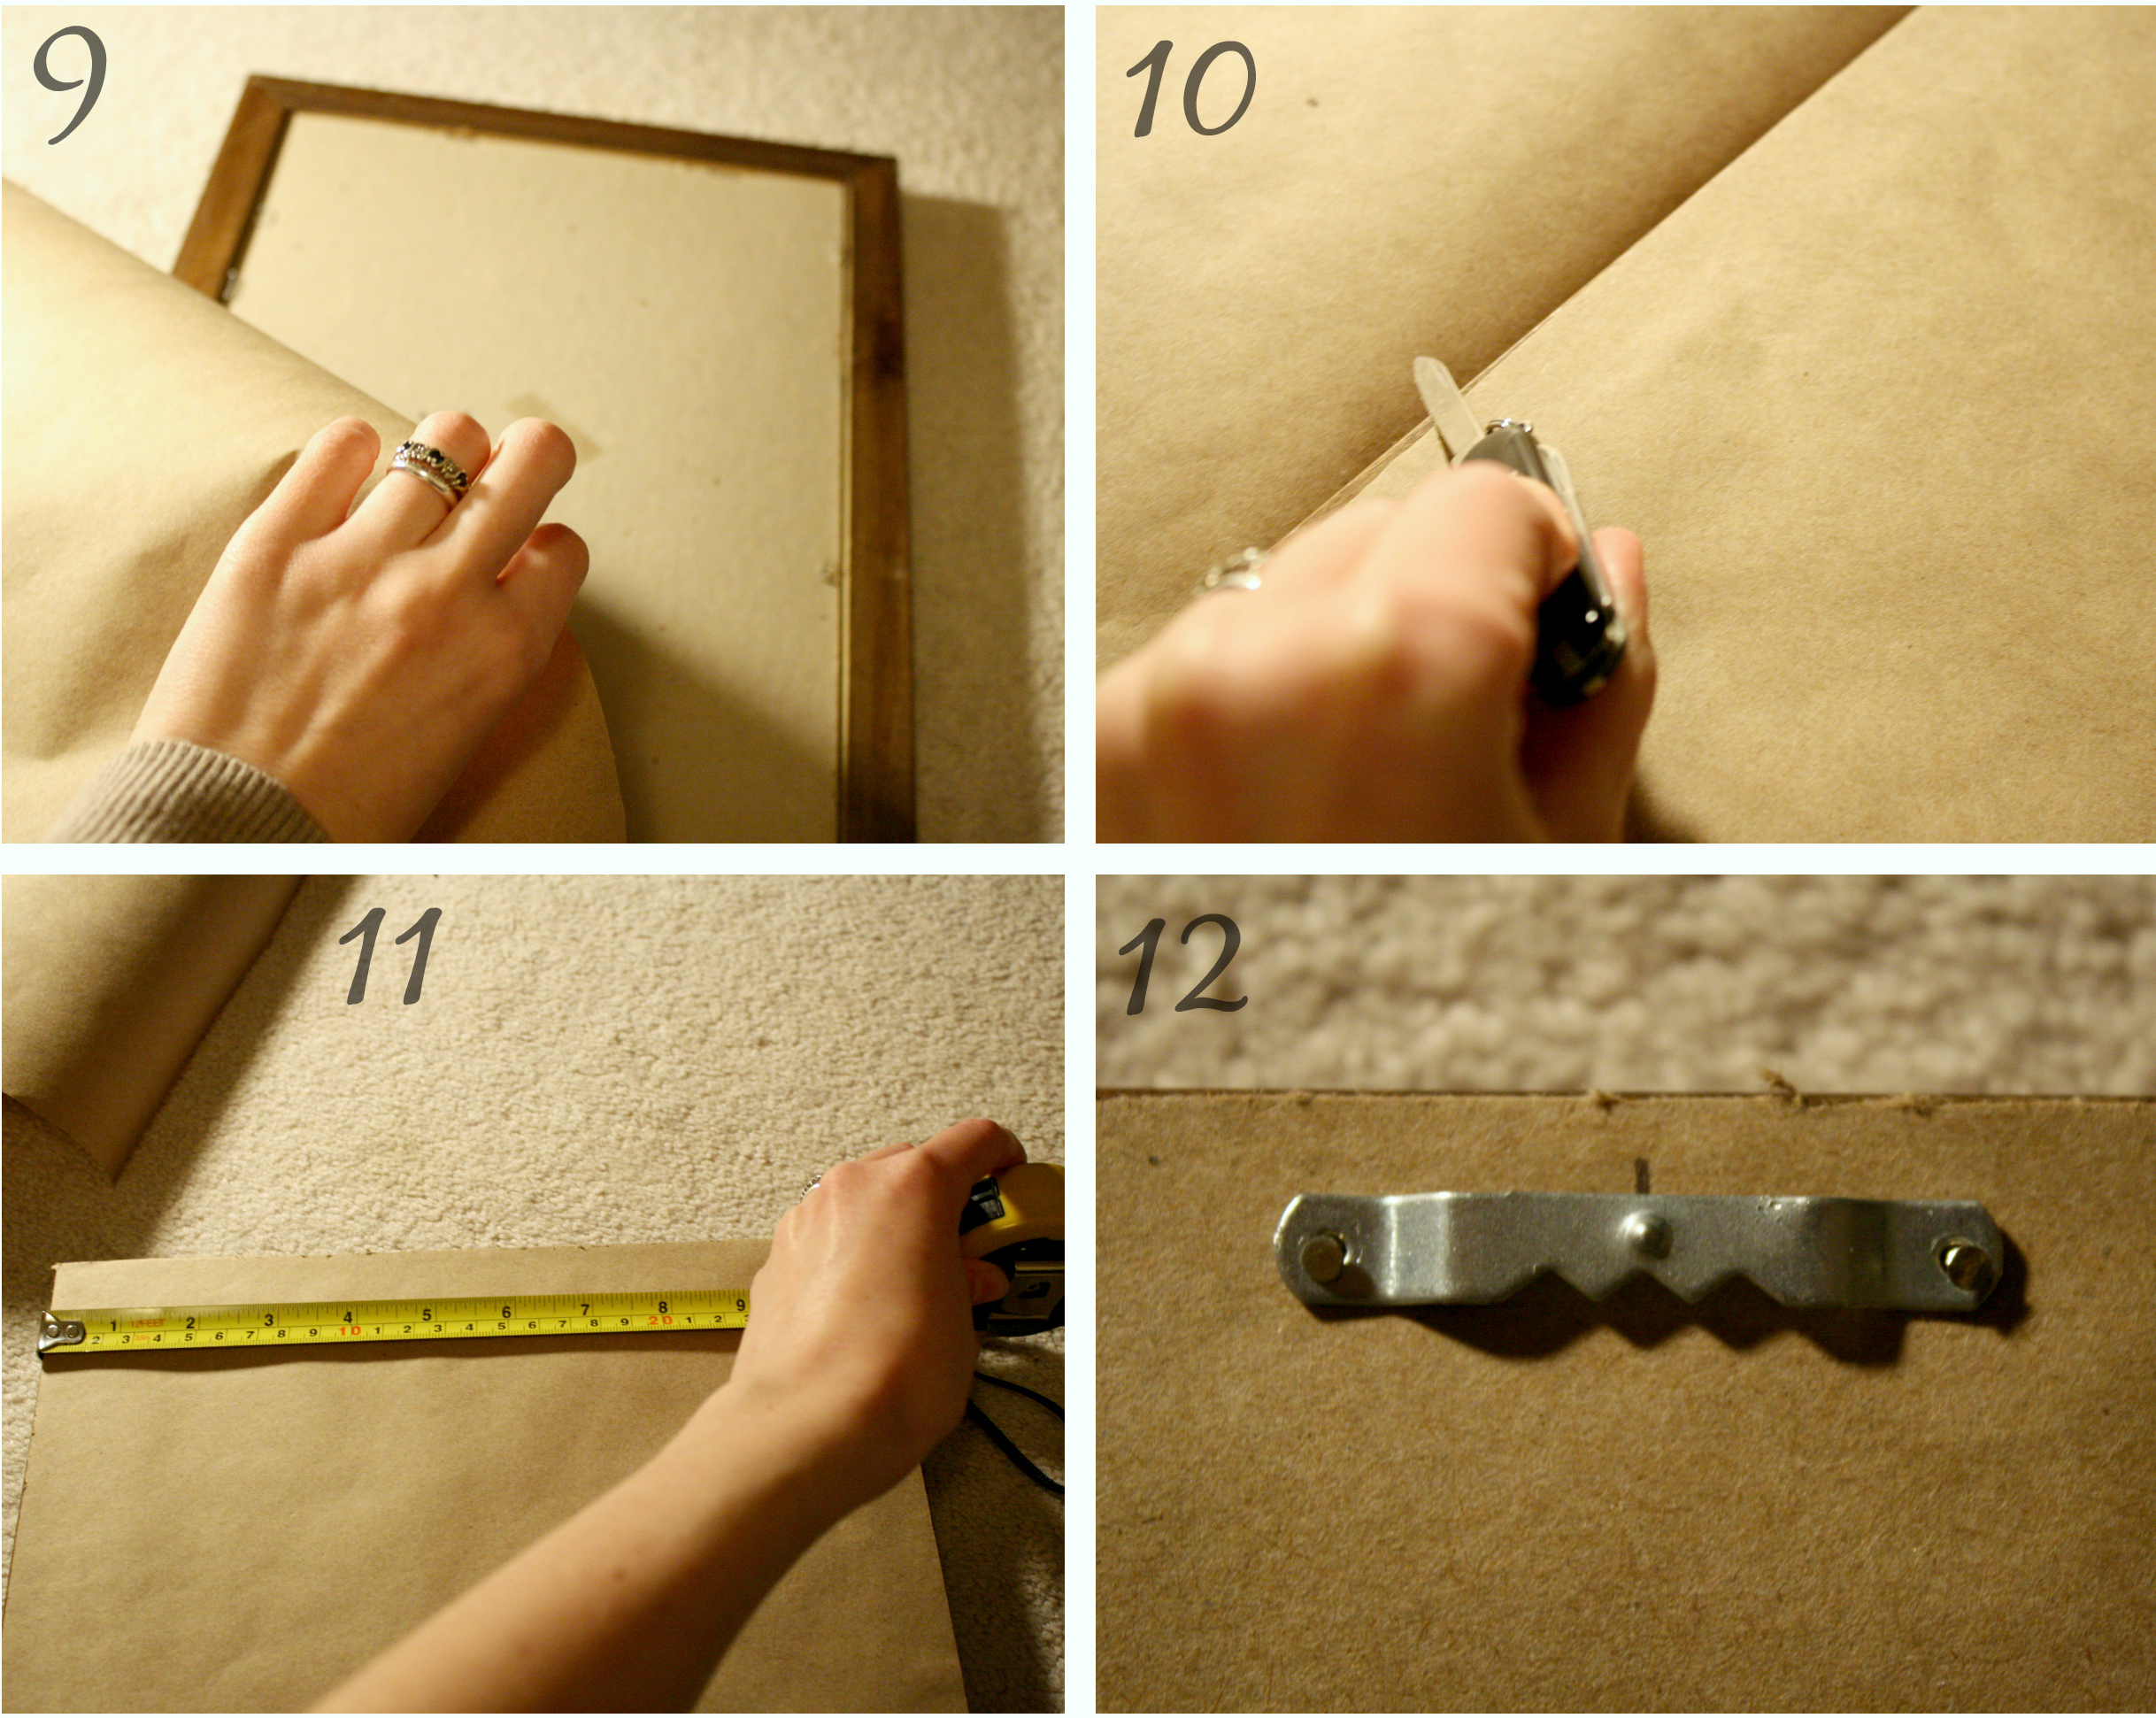 9. Roll out your craft paper over the back of the frame. Feel for the edges of the frame with your hands and press the paper securely over your tape lines. To keep it taut, secure the paper at the top, pull it down tightly and secure it to the bottom, then smooth it out and secure it on either side.
10. Once the paper feels secure, use a razor blade or small, sharp knife to remove excess paper from around the frame. Slide blade down edge at a 45 degree angle for the cleanest line.
11. Find the top of the frame where you’d like to place your picture hanger. Measure the width of the frame and mark the center top of the frame, making sure the hard frame surface is directly beneath it (you wouldn’t want to hammer into your cardboard backing).
12. Hammer in your picture hanger. It’s sometimes useful to prepare a guide hole with an awl if you have one on hand.
Done!
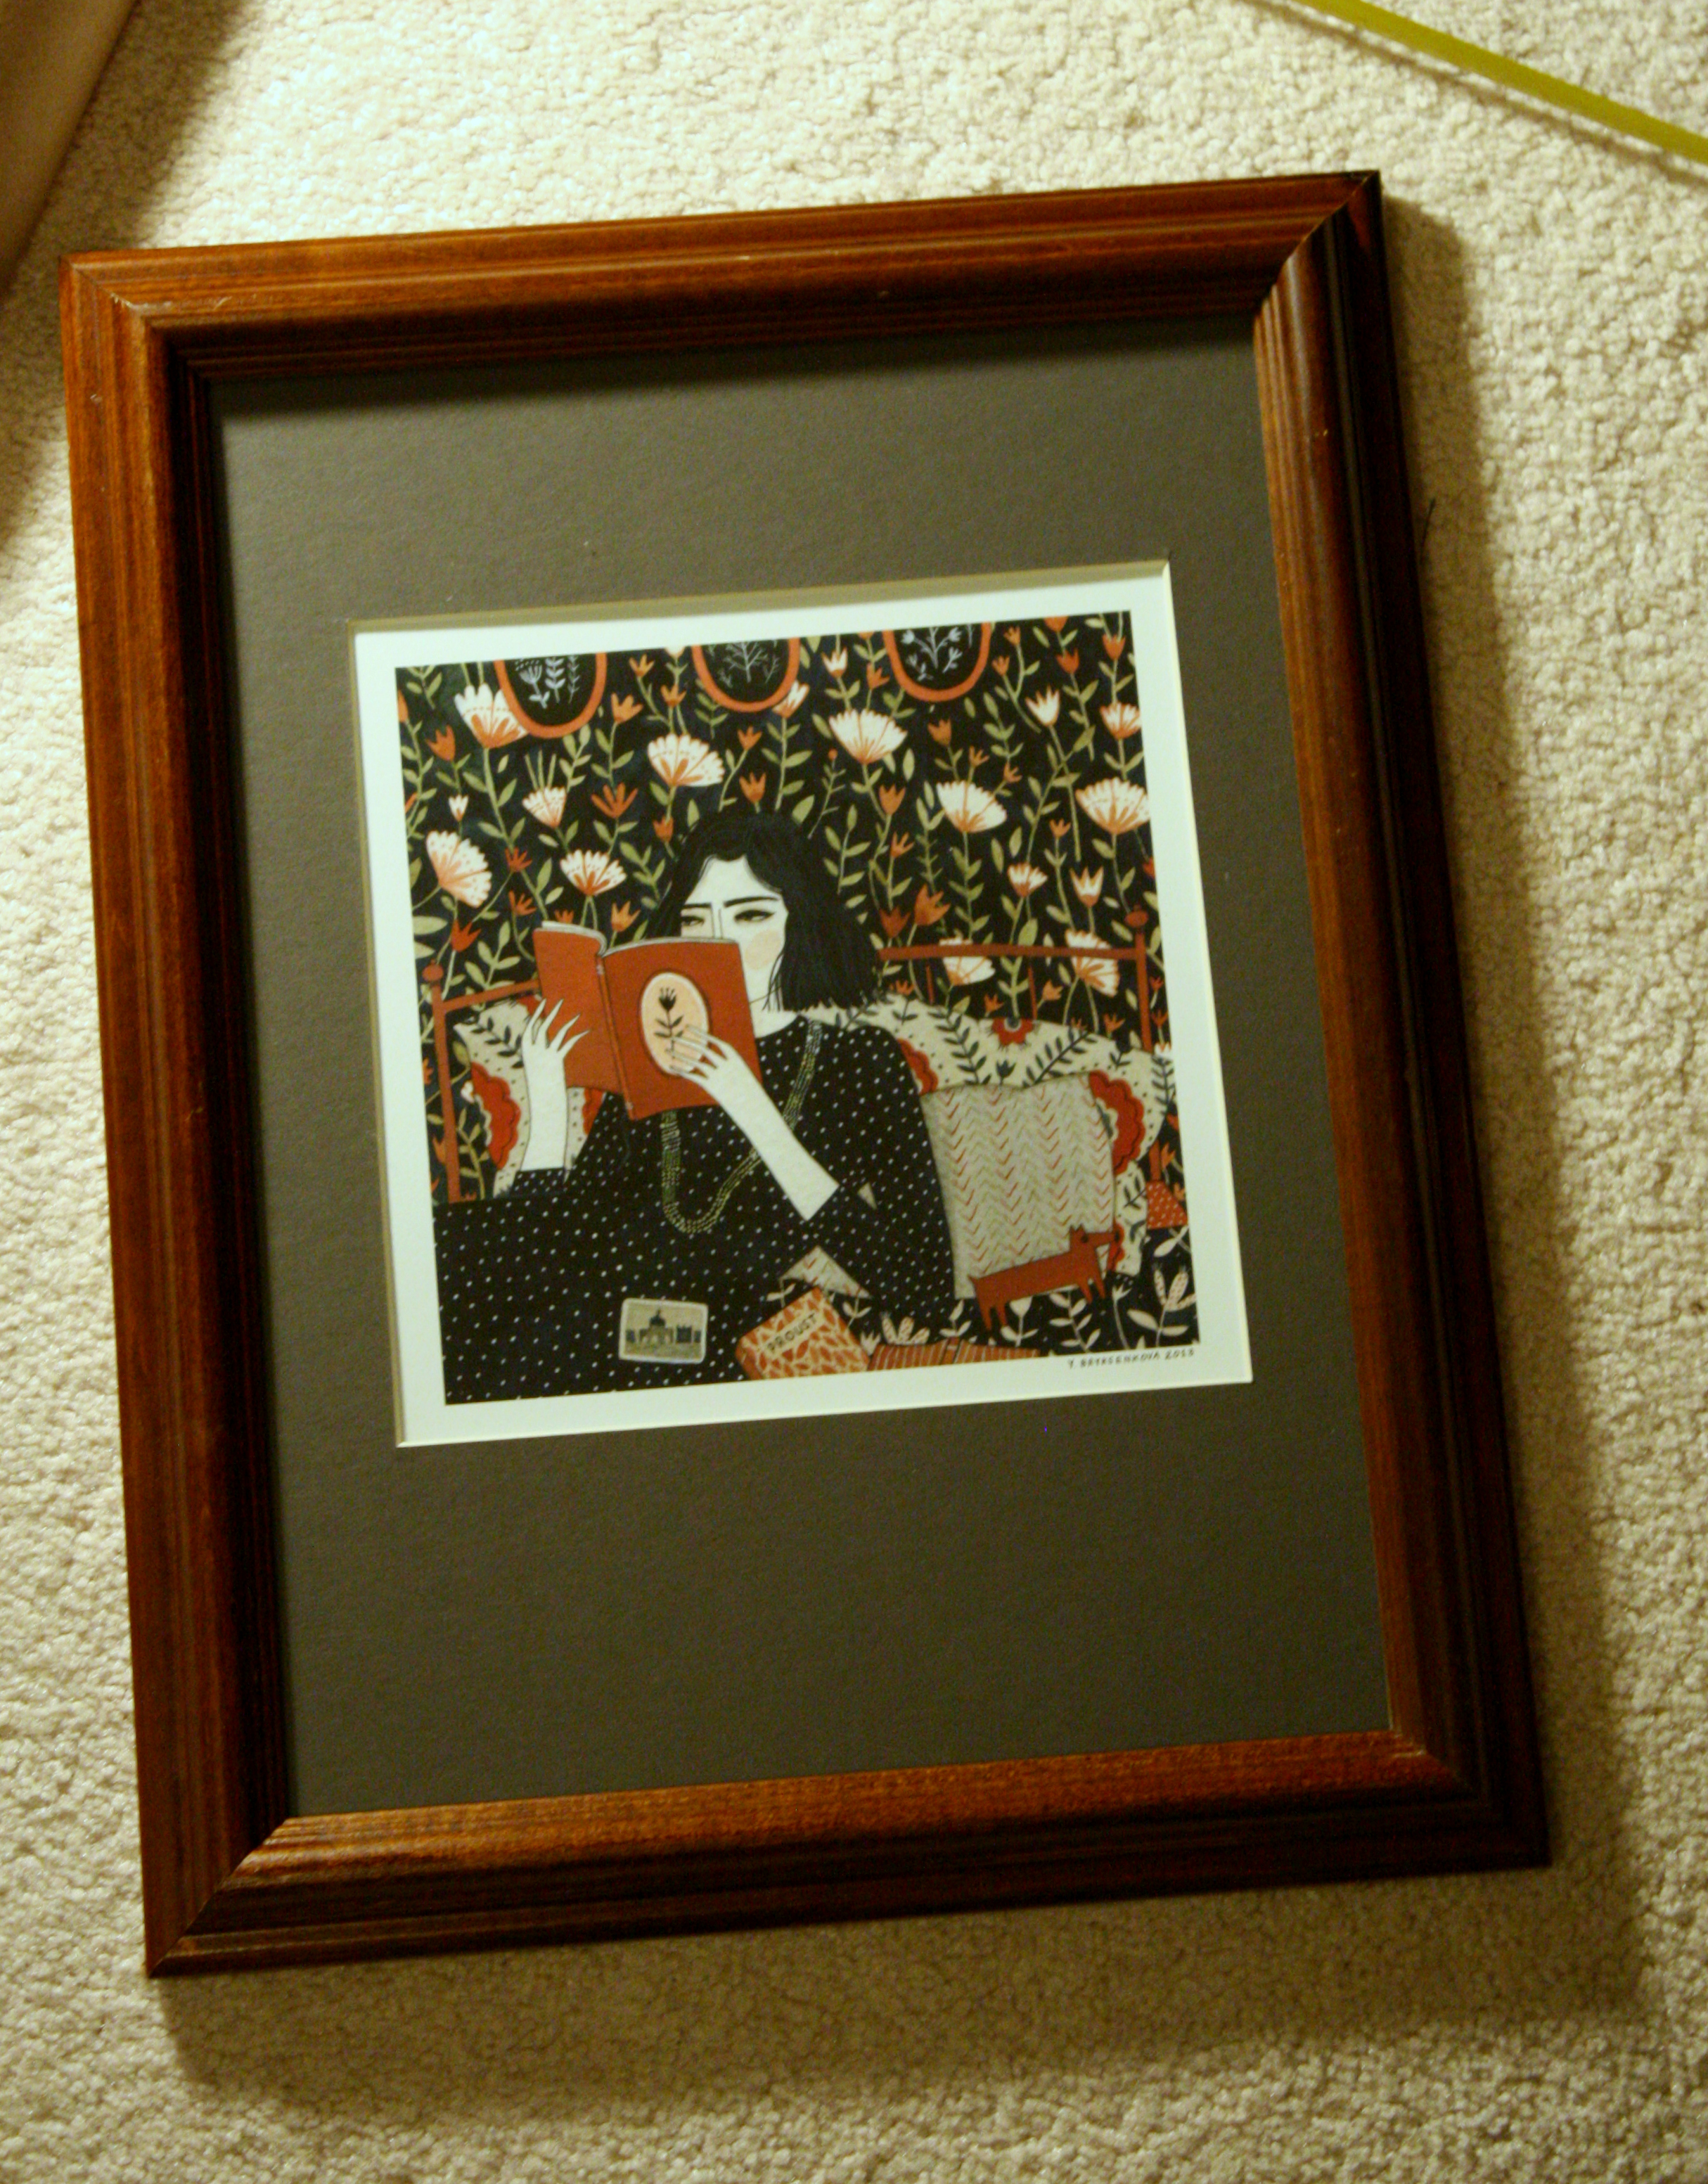 Admittedly, framing at home requires quite a few tools and a little bit of patience, but once you have everything you need, you can save yourself money and stress by framing things the right way all by yourself.
Let me know if you have any questions! I’d love to see your projects if you end up using my tutorial.

Ah beautiful if you can do this but I’m just not good at crafts.