
Have you noticed that black and white film, especially older film, has a slight green tinge that distinguishes it from black and white digital photography? I prefer the softness film provides to the harsh gray scale of desaturating a digital image in photo processing software.
Since I use PicMonkey for most of my photo editing, I thought I’d share an easy tutorial on how to make your digital images look like black and white film prints.
1. Open your image in PicMonkey.
2. Click on the Effects button (it looks like a flask), then click on the Black and White effect located under the Basics category. Click Apply.

3. Scroll down to the Time Machine effect, select Trixi, and move the saturation tab to somewhere in the 70-80% range.

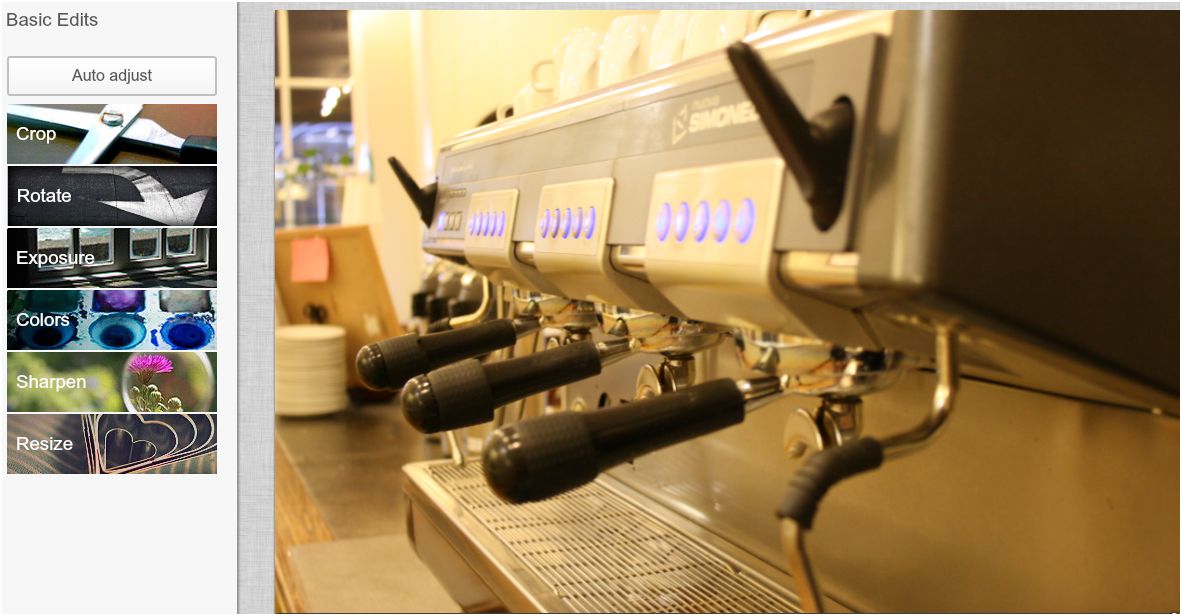
4. Go to the Basic Edits category and click Exposure. Adjust the brightness and shadows tabs to achieve desired amount of contrast. It helps to zoom in on the focal point of your image for this part.

5. If cropping is desired, click on Crop and adjust to your heart’s content. I typically set the crop tool to Original Proportions or 4×6.

6. Congratulations! Black and white film perfection.

Compare to a real black and white film image:

